Please, help me to have a real translation sending me an email (to perfectdams(at)gmail.com) with your text. This page was automated translated and it's a bad english. You can translate or write your own text (keeping pictures). In the bottom of the page, it will be write "translated by" with your name and a link through your web site if you want. The french page is always available at the bottom of all pages. I have a lot of pages to translate (Zelda, Mario, Castlevania, Faxanadu,...).
Join the team, send me an email
Zelda Ocarina Of Time on N64 - Shadow Temple
save

In this level, you will have to use the eye of truth very often to see doors appear (1). Be sure to turn it off when you no longer need it as it pumps out magic. This object distinguishes the true from the false and will be very useful even if it is not essential because you can cross the false walls without having looked at them with the monocle.
Go forward to the hole and use the grapple then cross the wall. Go to the left corner of the room and cross again a wall (2) then take the door. Cross the wall in front of you, then the right one and go through the door. Eliminate the dread and the 2 bats to get the carte which will allow you not to forget a passage hidden by false walls. Get out of the room and pass the wall on the right (3) then go to the right end of the square room to take the door behind the wall.

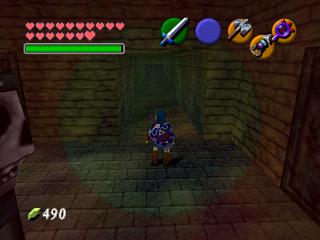


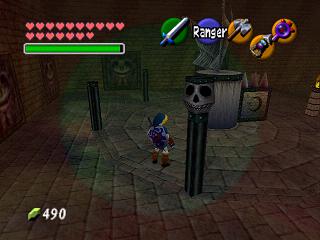
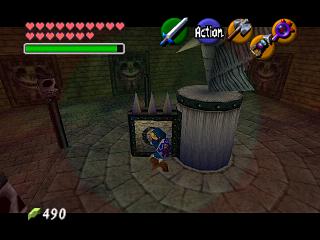

Go down and go through the right door on the other side of the wall (be careful, if you want to kill the sentry, you will need 2 bombs). Kill the mummies (Gibdos), take the compass, get out and go take the door opposite. In this room, you will need to take 5 silver rubies to open a gate. For that, it is enough to pay attention to the blade which turns and to bend down with R when it arrives. Only the ruby ??from the northwest corner is not on the ground and you will have to use the grappling hook to get it (1) (be quick to aim). The grid opens, take the small key, get out of the room and blow up the left wall then go through the door. You find yourself in a small corridor that goes down. Watch out for Skulltulas falling from the ceiling (kill them with a grapple (2)) and guillotines and everything should be fine. Before crossing the next room, drop the clapper from the ceiling by turning at the start of the room and kill it before it rises (3).


Cross the room, kill the Stalfos (1) and go west with the boots from the air (in the east, there is a Skulltula). You must "jump" on the platform when it is down and jump from the platform when it is up (leave when it is in the middle of the climb). Kill the sentry (2) and take all the silver rubies to open the door. Follow the corridor; you arrive in a room where you can see a block in the wall thanks to the truth monocle (3).

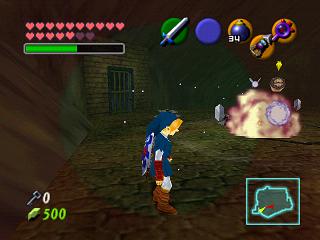

Pull the block from the wall and push it under the nails. Stop pushing where the block will block the 2 square nails (1). Then go around the block (take the Skulltula while passing) and pull the block to the end (2). Then climb on the block and on the left wall. Cross on the nails to activate the switch (3) and cross again to go and take the small key in the corner of the room. Then get out of the room to go to the big room.


Go through the narrow passage and use your monocle to see the platforms (1) and reach the door at the other end of the room. Use your monocle, and, after killing the scars, take all the rubies from the room, using the grapple targets (2). Take the door that opened and go up above the skull. Take a Bomb Flower and launch it into the skull (3) to obtain a small key (and a skulltula). Get out of the room by killing all the tappers and use your grapple (2) to take the door located high on the platform.

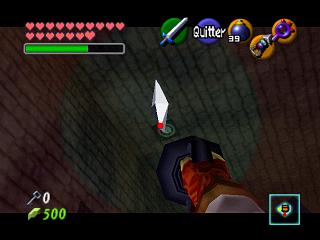

You arrive in corridors where fans blow. To pass quietly, put on your lead boots to the hole. Once in the hole, put your boots on and hit the hole as soon as the fan opposite has stopped blowing. Once on the other edge, quickly put on your lead boots again so as not to be pushed into the hole. Keep your lead boots to safely cross the ventilator deck and use your bow to kill the eye when it opens to shoot. At the level of the last fan, there is normally a passage (monocle), stop and look at the fan. As soon as it stops, put your boots on the air and watch the passage. When you feel the wind behind your back, run to get to the passage without any problem. Go through the door.


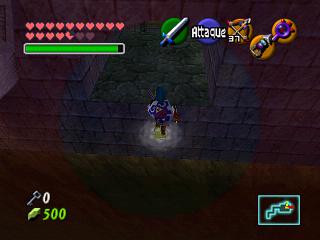
Kill the Gibdos then use a bomb to detonate the small embankment (1) which is on the right when you enter. Use your monocle to see the chest that was below and take the small key inside. Go through the door at the end to find yourself in a huge room with a boat. Pull the block on the left to the path traced on the ground (the fence leads to a room near the start (the one with a large blade)), peel it off the wall by pulling it (2) then push it under the ladder . Climb above and take the ladder (above, if you play the song of the scarecrow, you will find a Skulltula). Jump on the boat and place yourself on the triforce symbol to play Zelda's lullaby (3).
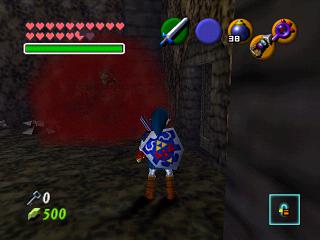
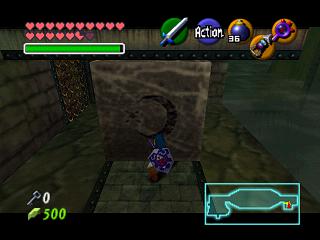
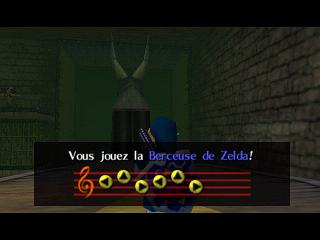
The boat sails and 2 Stalfos attack you. Try to kill them but if you arrive at the end of the journey, jump on the port side bank (1) so as not to sink into the abyss. Go take the door at the end of the platform to arrive in a room where you will have to use the monocle to see the walls. Avoid hands to take the door to the North (2). You arrive in a room where studded planks are trying to catch you. Use Din's fire to burn them (3) and take the large key and then exit.


Take the door to the south and use your monocle to see the Grossbaffe and kill it (1). Take the small key and return to the platform (taking the last door (to the west), you will find a Skulltula). Go to the end of the quay and pull the Bomb Flower (2) (opposite the 2 jugs) to create a makeshift bridge. Cross it then take the door (if you need a heart, first play the song of time then the song of the scarecrow). Use your truth monocle and your boots to cross this last room (3) and open the boss door.


Shadow Temple - Boss : Bongo Bongo, Phantom Shadow Beast

You arrive in a small room with a hole. Jump in to land on a giant drum where the boss of the Temple of Shadow plays: Bongo Bongo, monster of Shadow.
The beat is quite simple, first block these 2 hands with your bow and the Z aim. Then use your monocle to aim the boss and send him an arrow in the sensitive parts (but not the ** beep **). The monster then crashes on the drum. Take the opportunity to strike him with your sword (jump attack preferably) by putting yourself very close to him. Bongo Bongo has 3 attacks to its panoply:
- He attacks you fist forward, run to avoid him.
- He steps back with both hands to applaud (he would be very strong at Donkey Konga) and you have to quickly back up or move forward.
- He raises a hand and it's better to shoot it quickly before it catches you.
In any case, if you attack his hands quickly each time, you will not risk much.


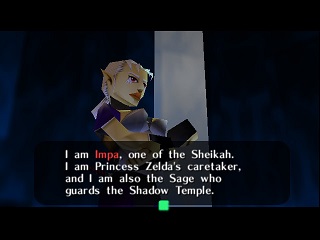
Bongo Bongo is defeated and passed out in horrible suffering. After taking the heart, you teleport once more to the sanctuary of the wise. Impa turns out to be the sage of the Shadow and explains to you that Ganon attacked Hyrule 7 years ago and that she managed to put Princess Zelda in a safe place. Now Impa must stay at the sanctuary. She gives you the medallion of the Shadow and tells you that you will have to protect Zelda who will find you soon and explain everything to you.



Fullscreen
Buldo6 & Perfectdams translation in progress by Demonic Lemur
| Back home of Zelda Ocarina Of Time |
| Back to the Nintendo 64 home |
- Version Française -- English version -
